Before and After
Sampling of various restoration projects. Keep checking back for more!
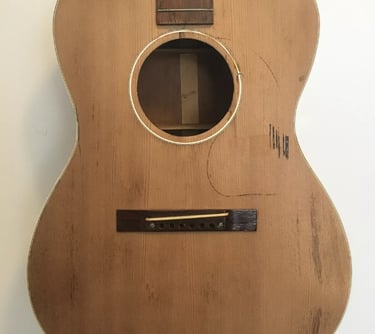
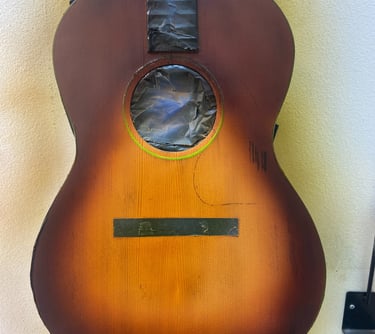
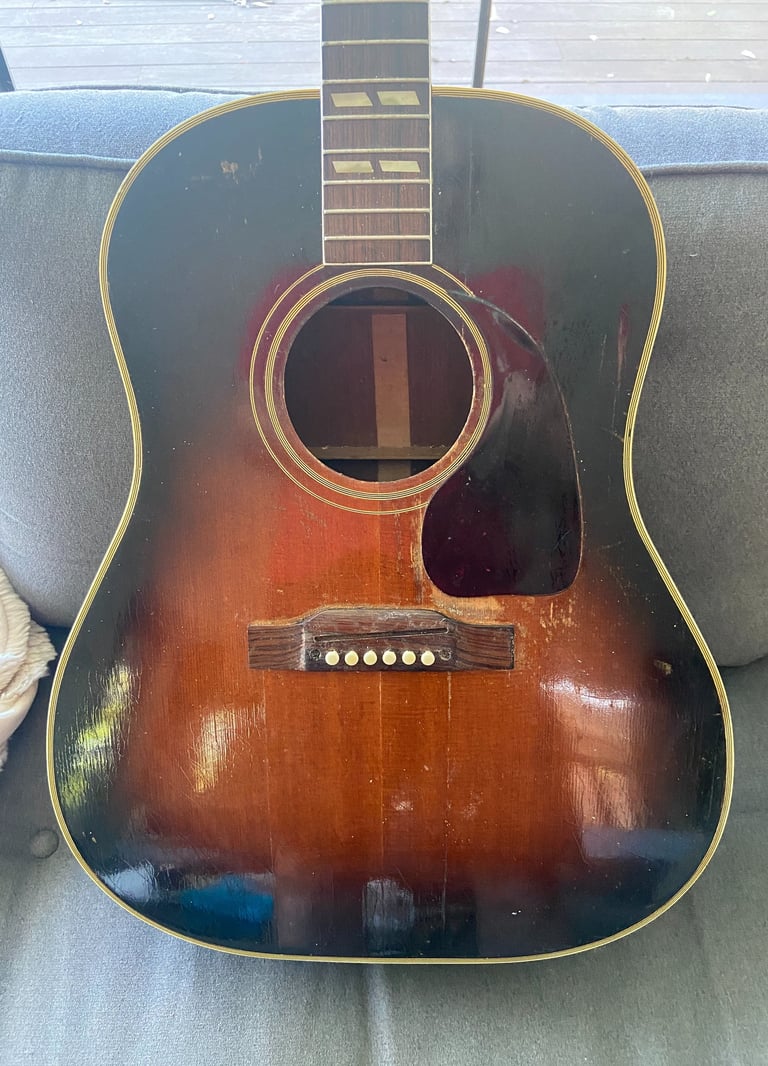
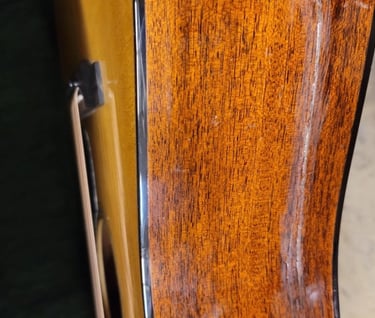
As purchased
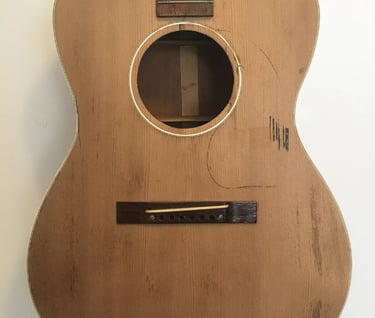
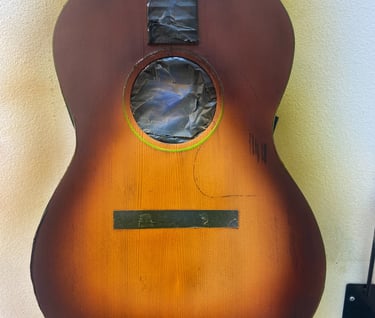
Laying down the foundation
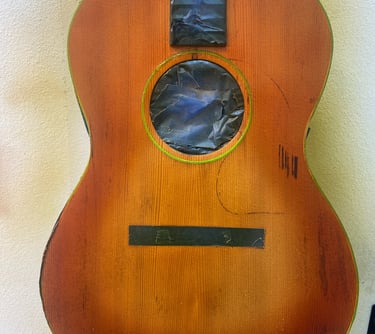
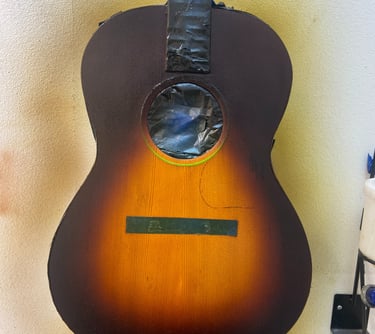
Starting the tobacco brown
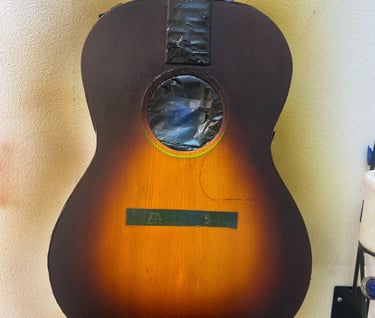
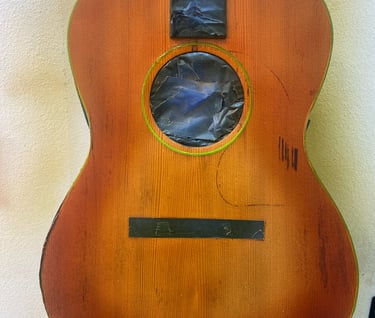
Prior to clear coat
1947 Gibson LG-2 that I got with the finish on the top completely stripped. Don't know why. I sprayed a new burst with nitro and clear coated it, making sure to not make it too glossy. Fun fact: Gibson started focusing more on sunburst finishes in the 40's because all of the best wood was going to war efforts. They strategically hid blemishes behind the dark outer part of the finish!
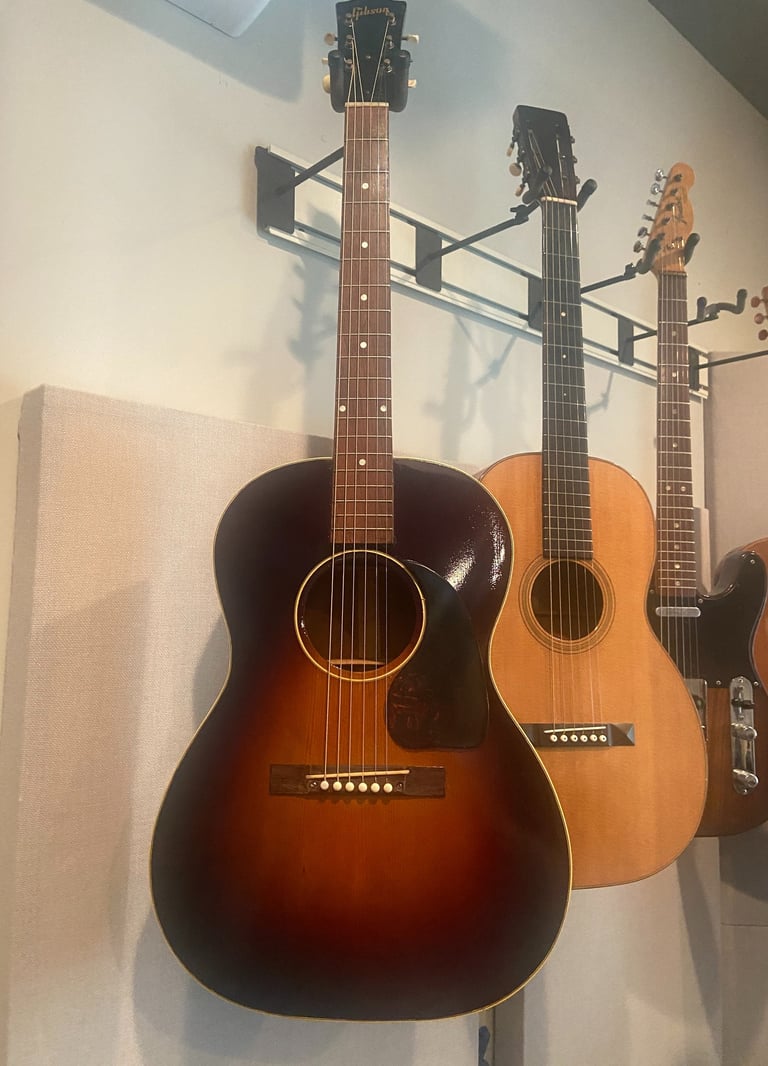
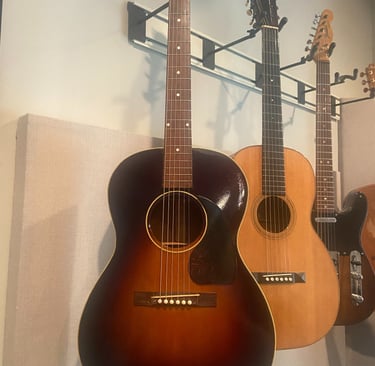
Done!
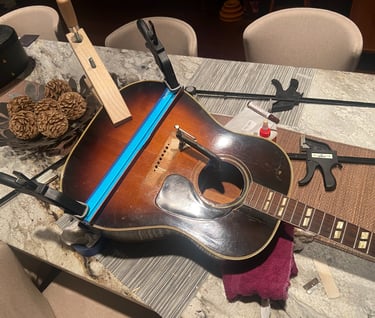
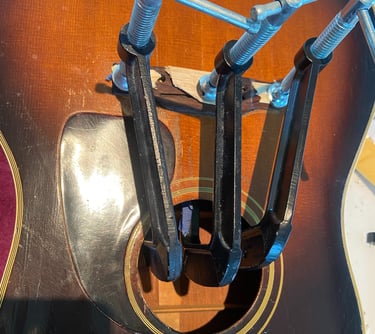
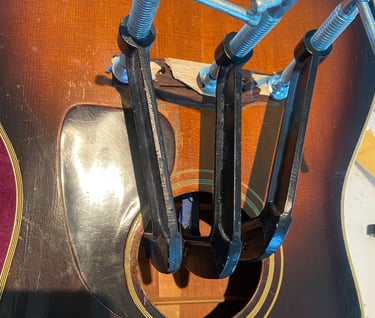
Getting it back to shape
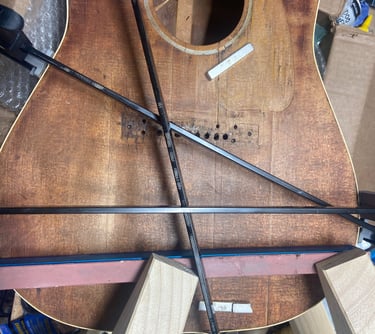
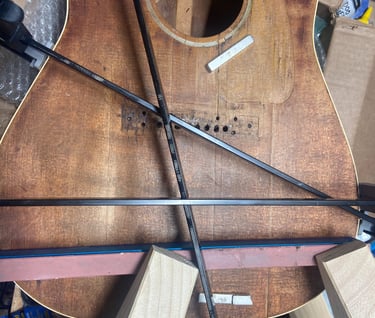
Mapping out the braces
Starting to re-glue
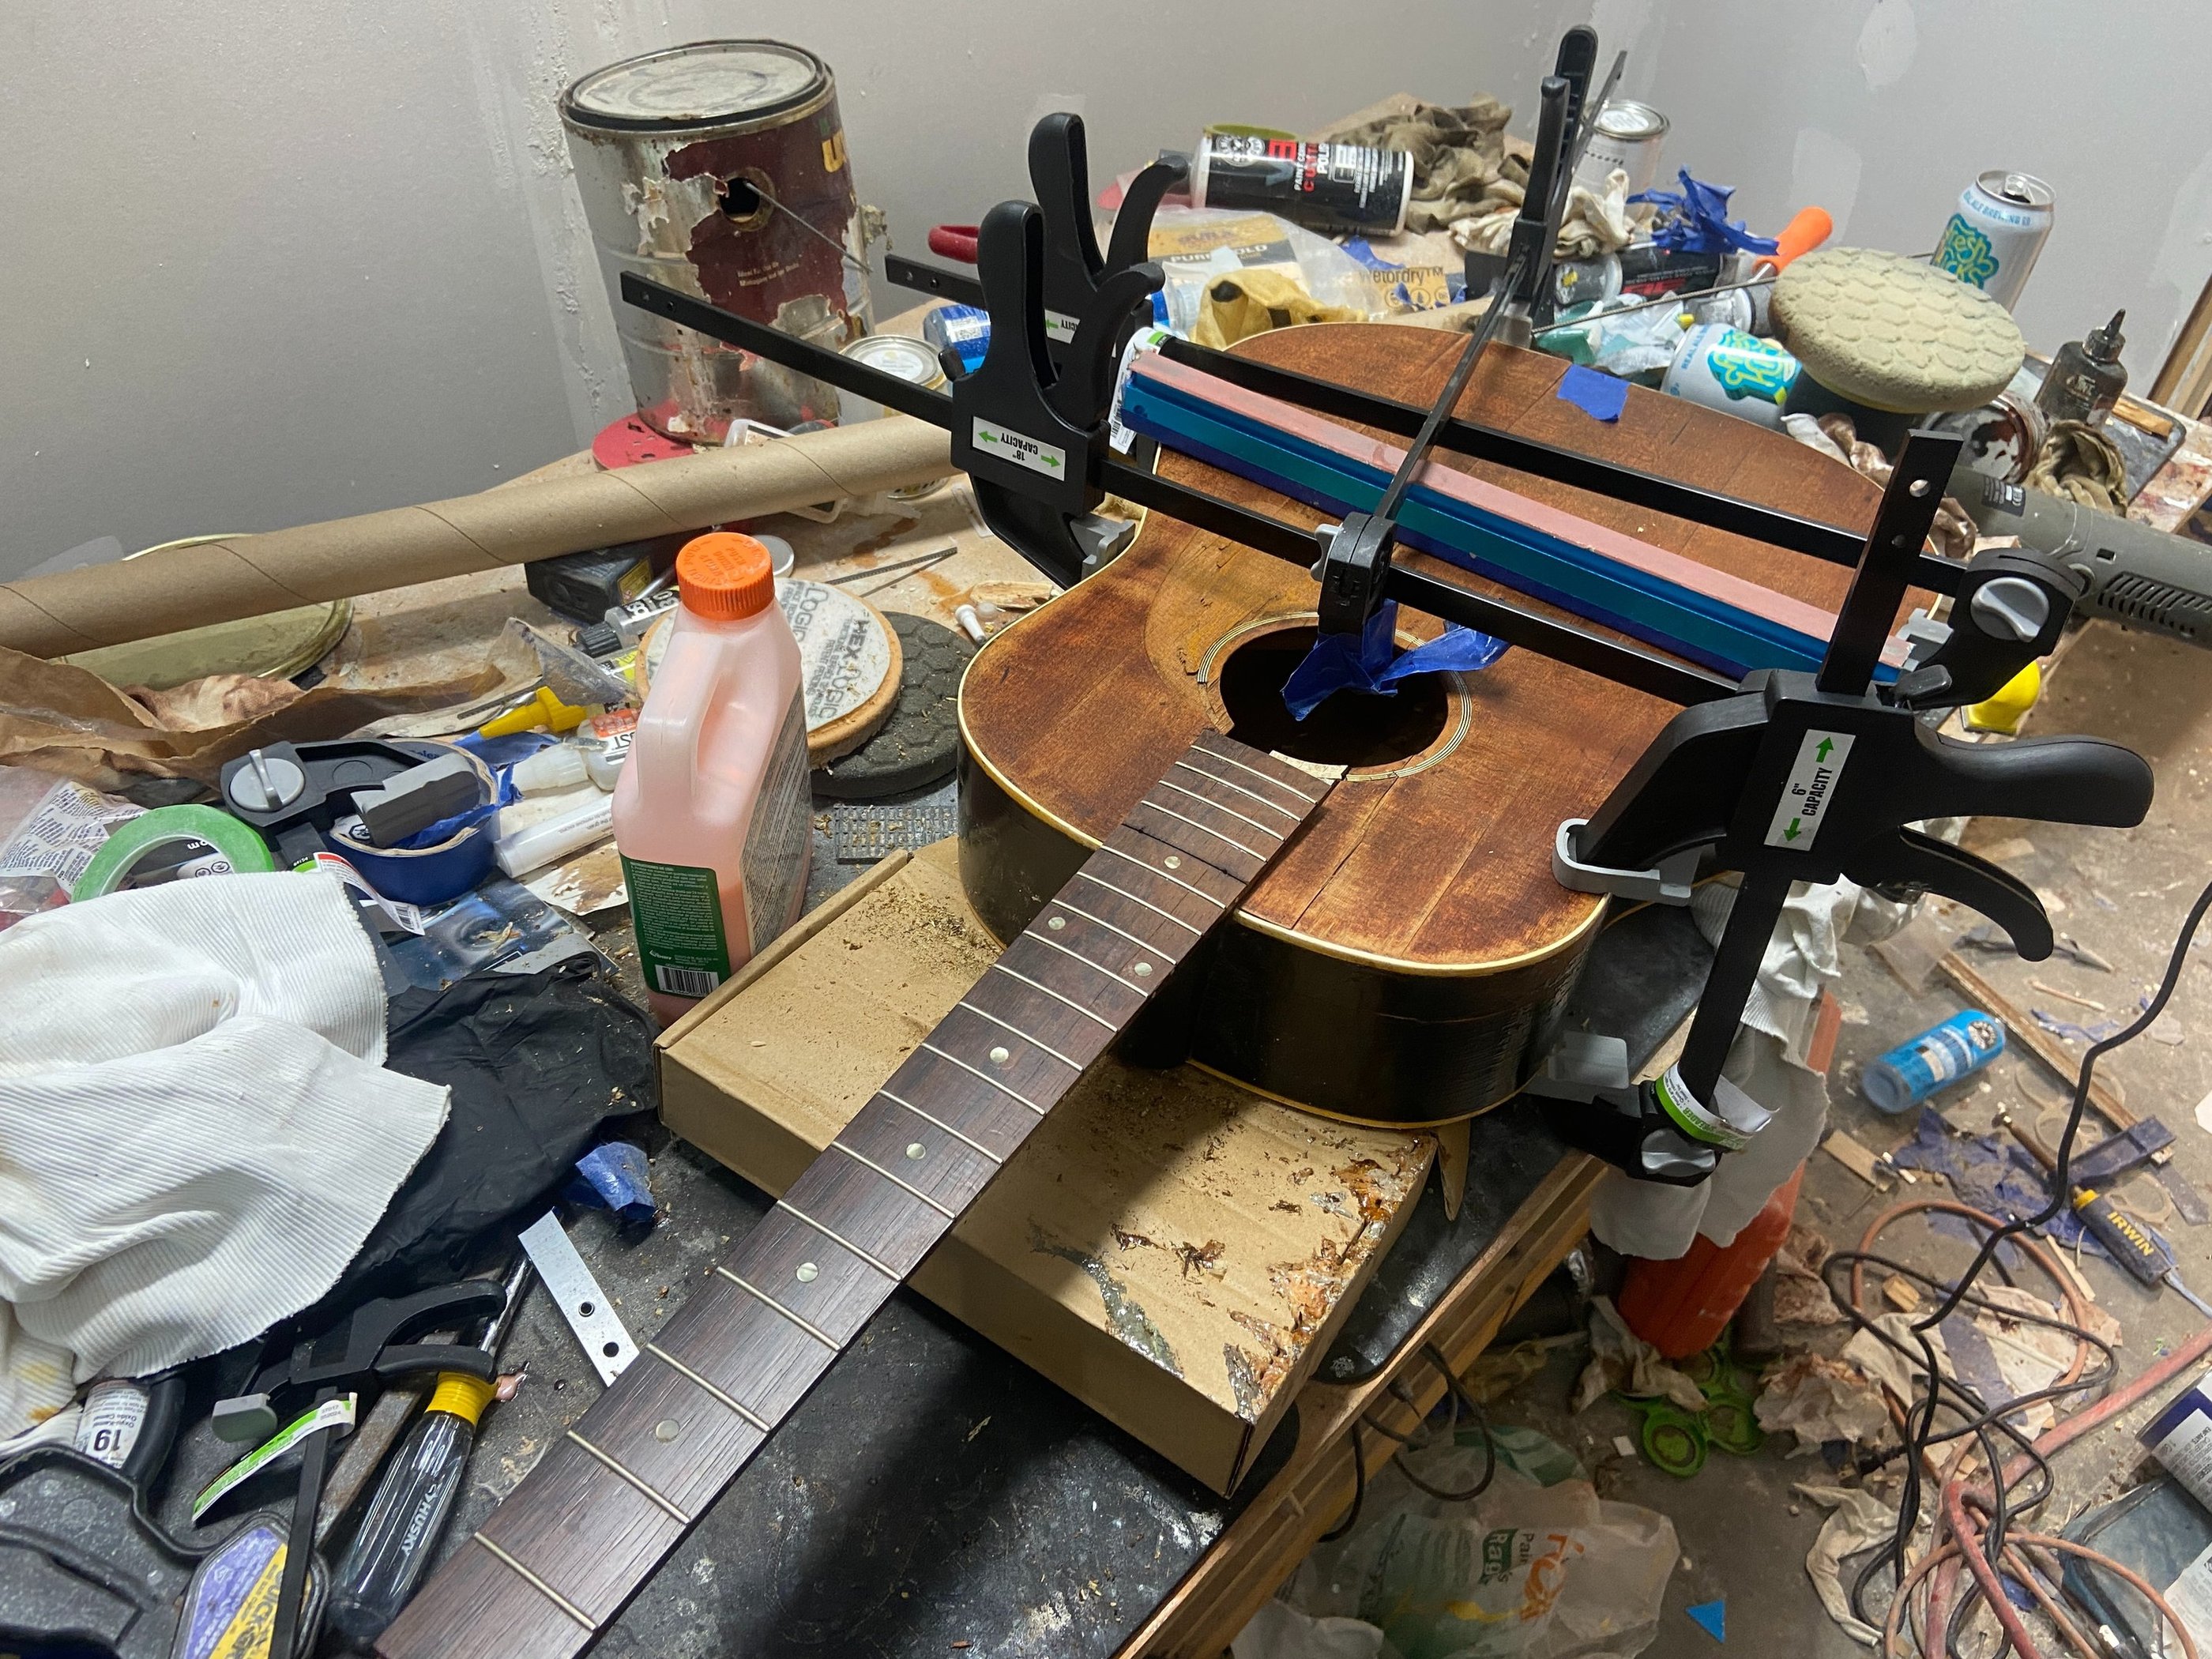
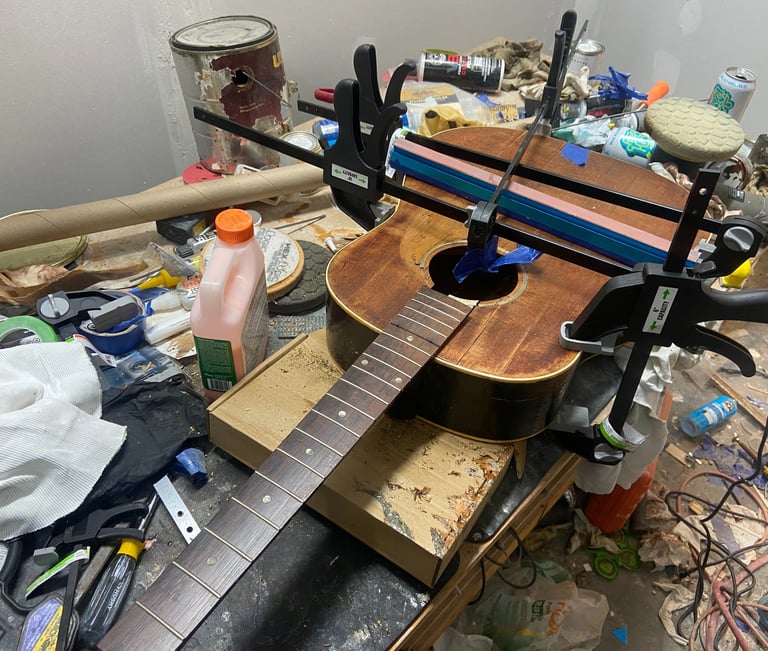
Final structural work
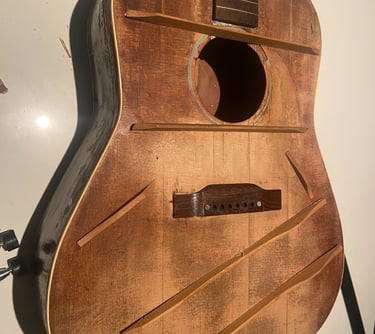
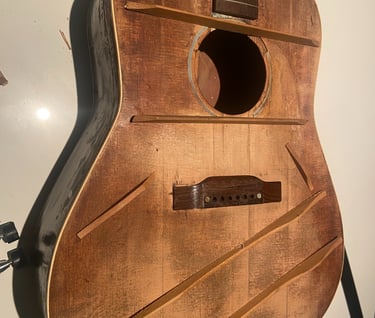
1945 Gibson Banner J-45 that was all kinds of jacked up when I bought it (see the "Sell Me Your Guitar" page for the before shots). The top was shifted almost an inch at a split. I removed a stubborn poly finish and completely rebuilt the body. Every brace was loose and half were bouncing around inside but fortunately all there. The bridge is just a placeholder - I'll be installing a proper straight bridge with thru saddle. It's still a work in progress but I'll be finishing it out soon.
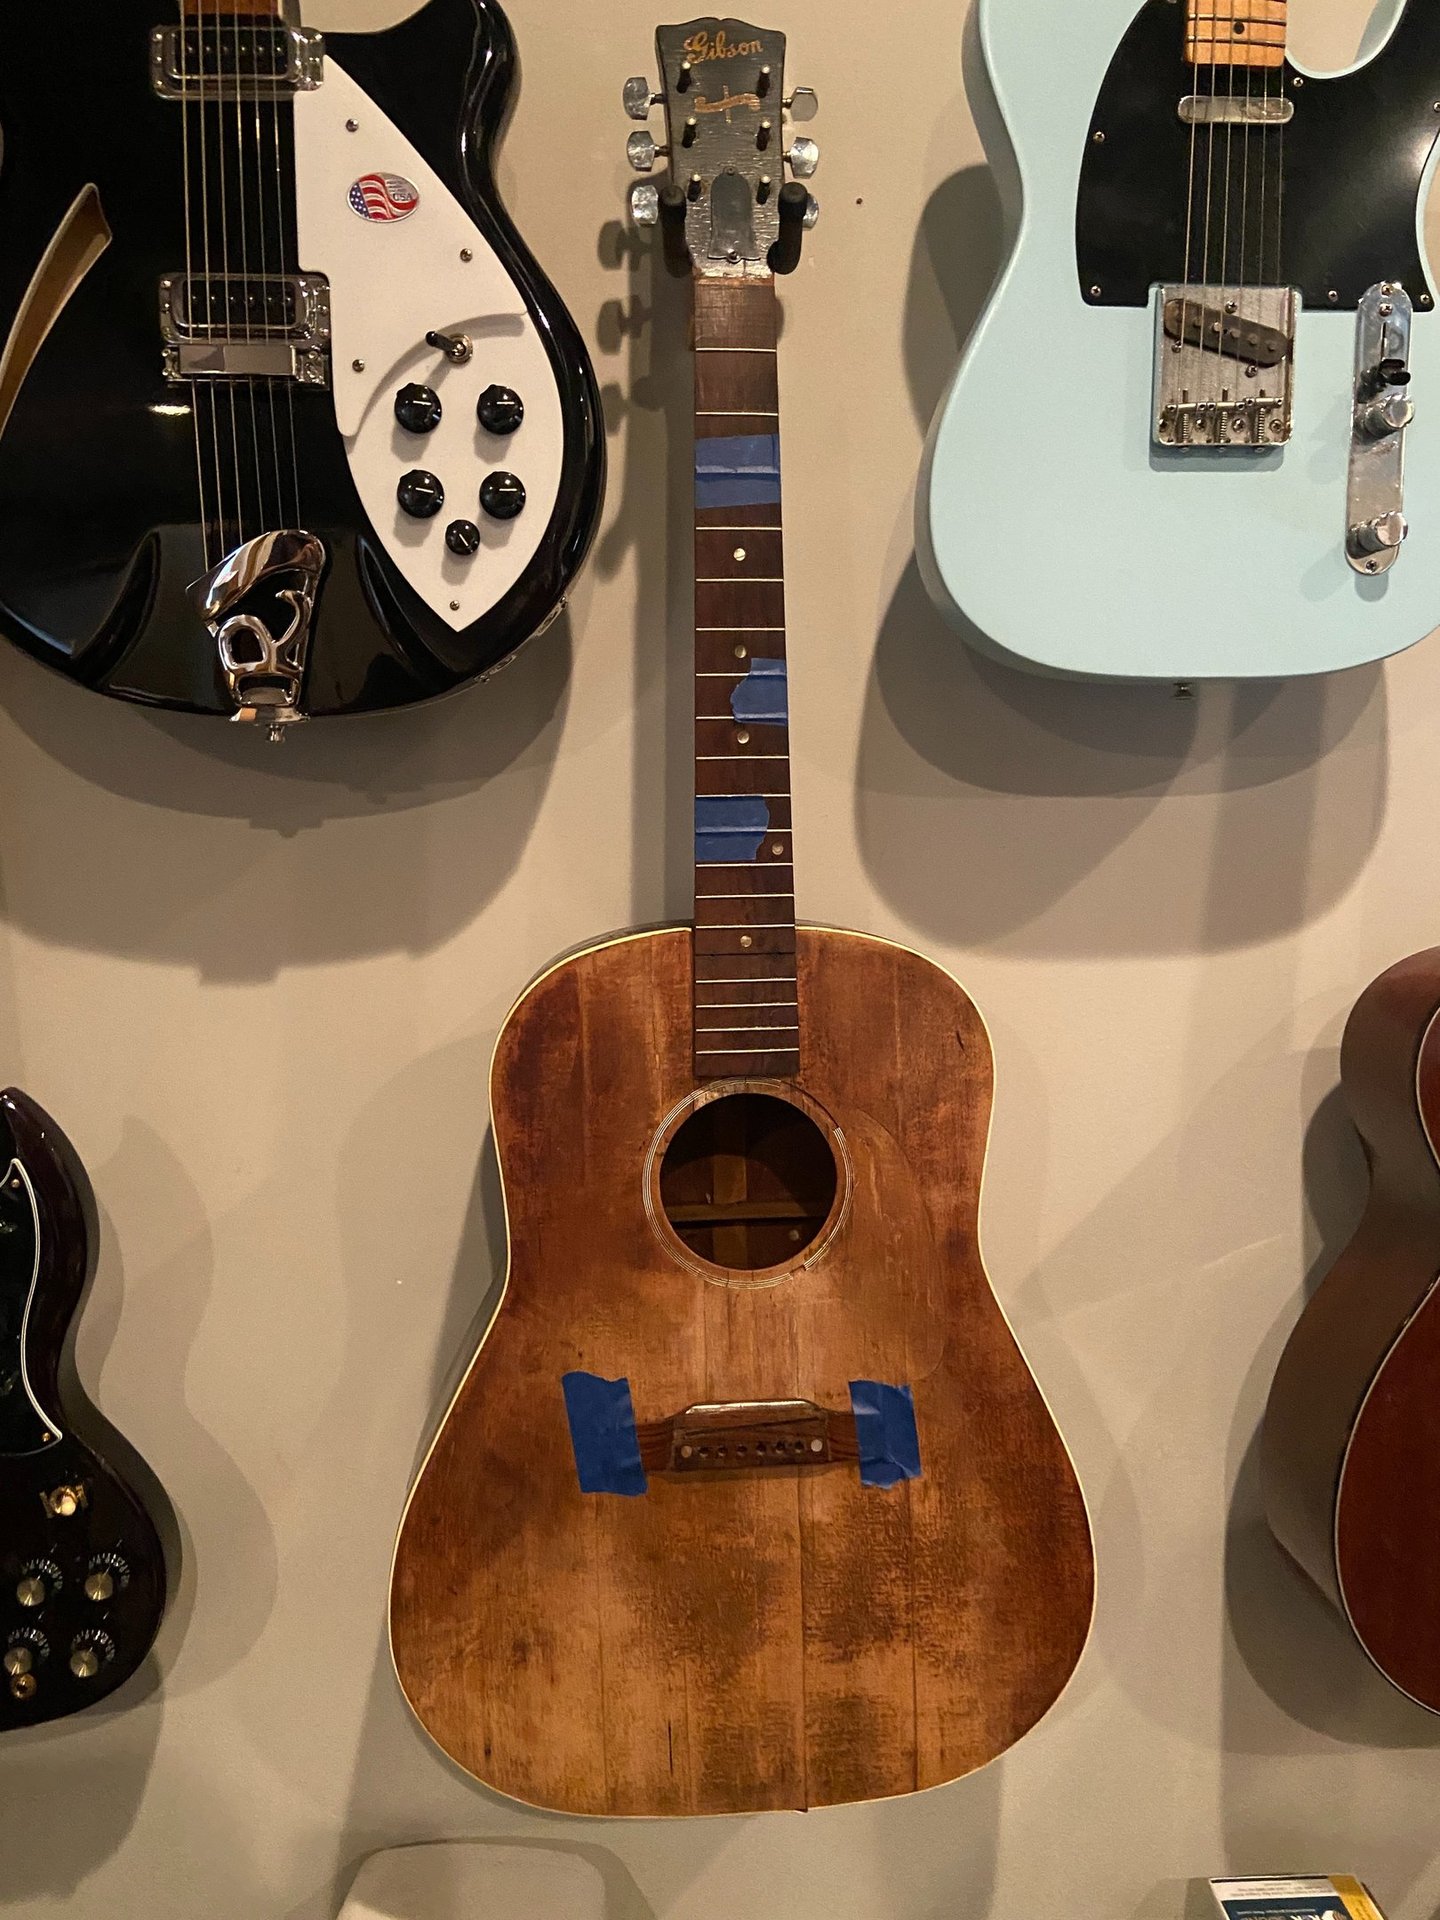
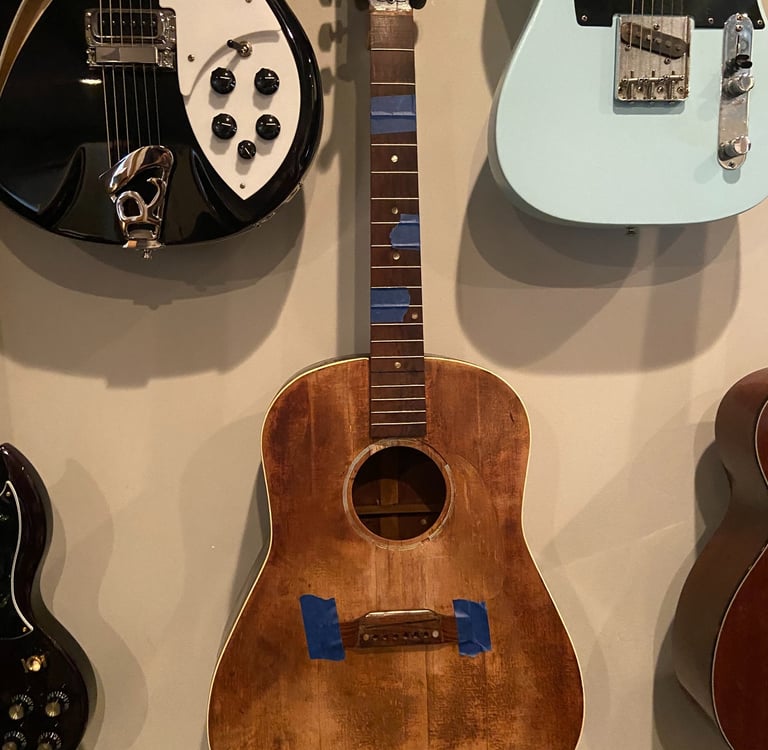
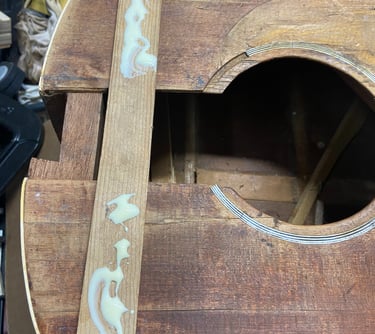
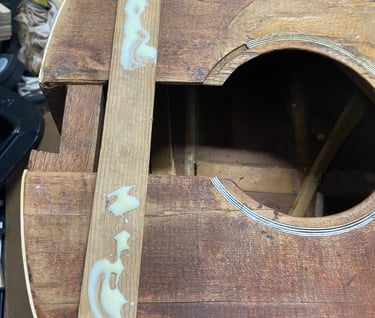
Ready for new rosette and sunburst!
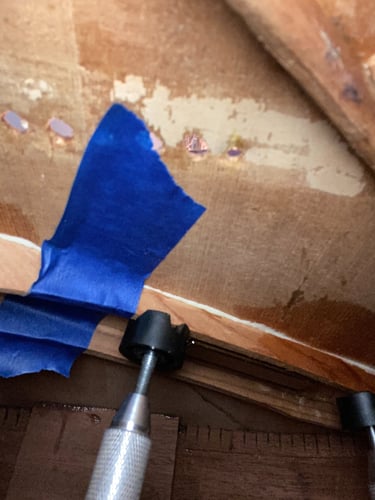
Brace reglue
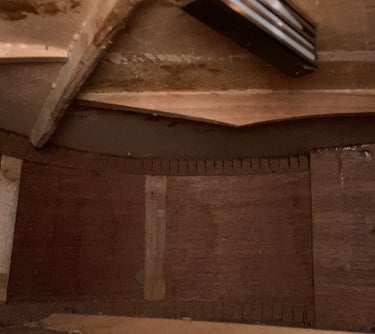
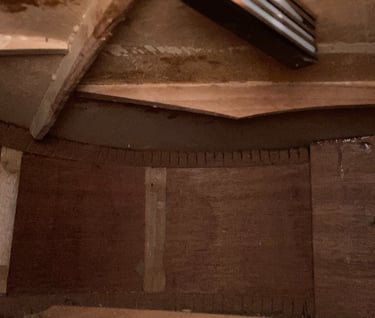
Aligning with magnets
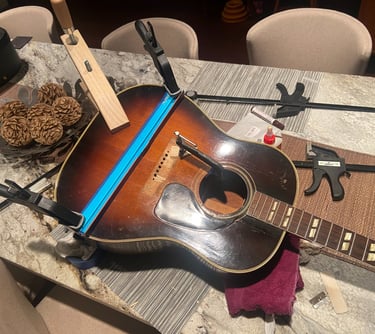
Keeping the top flat
Clamping bridge back
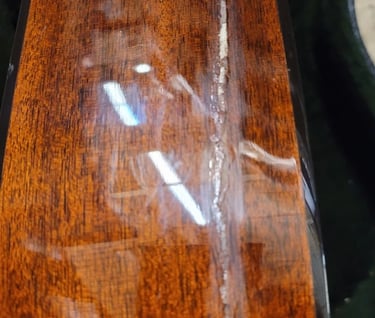
1950 Gibson Southern Jumbo that I picked up with a lifting bridge, several top cracks and a bunch of loose bracing. It's all back together now and sounds great!
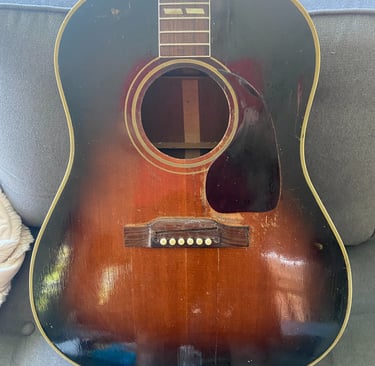
Ready for re-string!
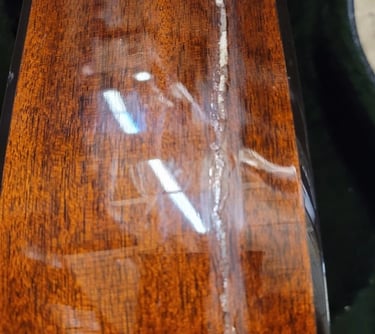
Treble side
Bass side
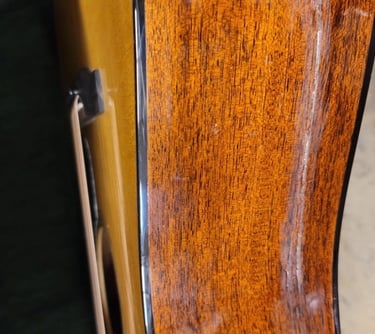
Removing the finish

In process
Martin D-18 Standard that had some ugly repairs to cracks along each side. I removed all of the finish, stained it a golden brown, followed by some color and clear. You wouldn't even know it was repaired if I didn't tell you!
Ready for final sand and polish

Break before
After
Checking before
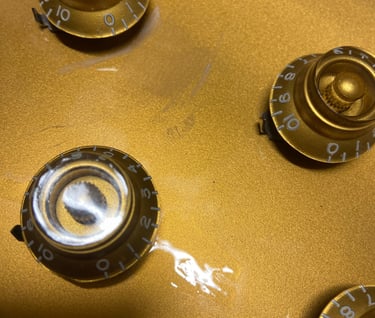
Cellosolve at work
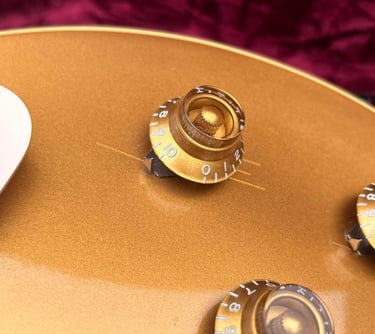
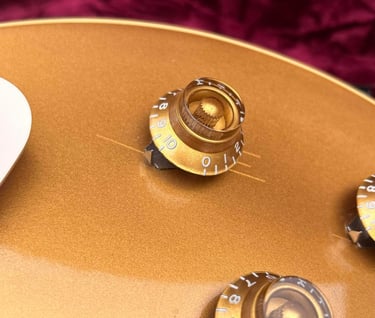
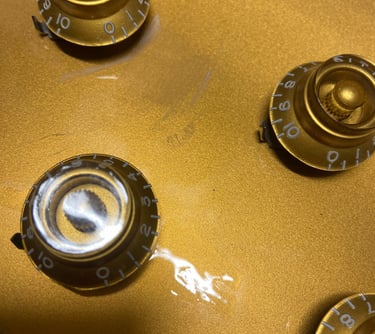
Gibson R7 '57 Reissue that had a previous headstock repair and some checking on the top. I was able to make the headstock repair invisible and melt away the checking with Cellosolve. This is why I love working with nitro! I bought it with the intention of flipping it but it sounds incredible so it's gonna stick around for a bit.
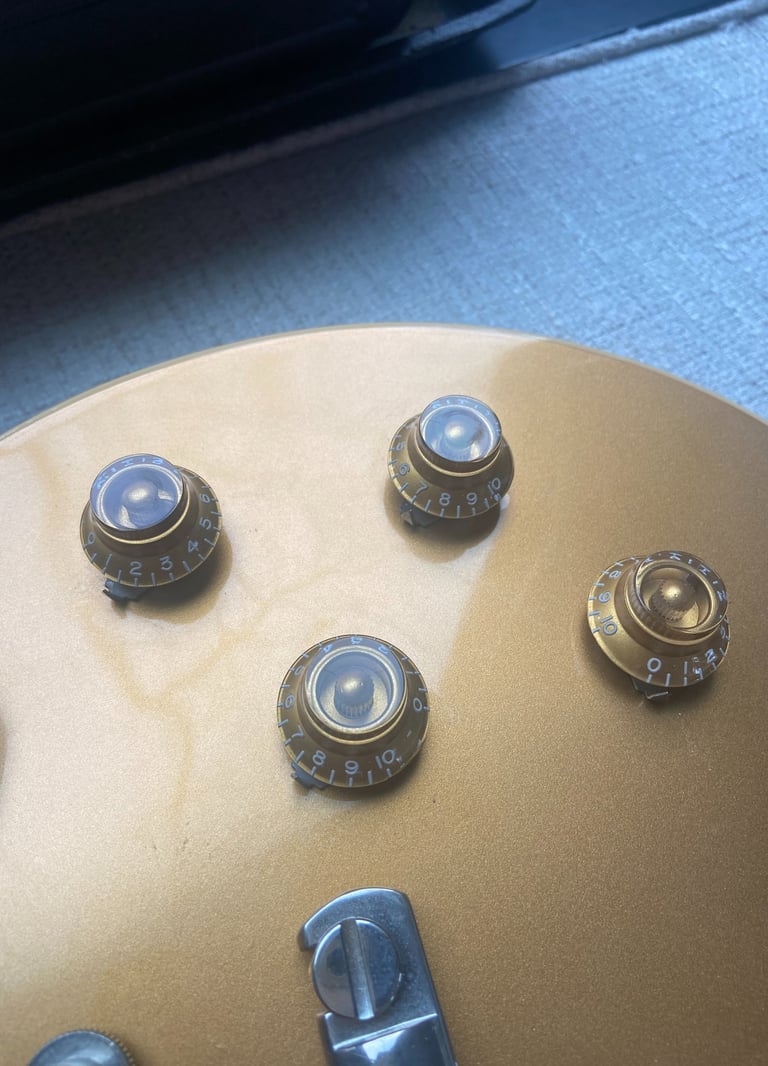
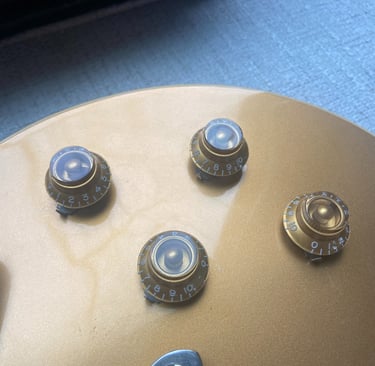
Checking gone
As received
Back together
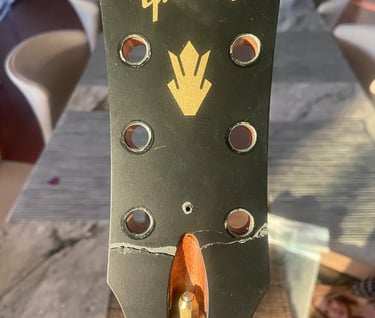
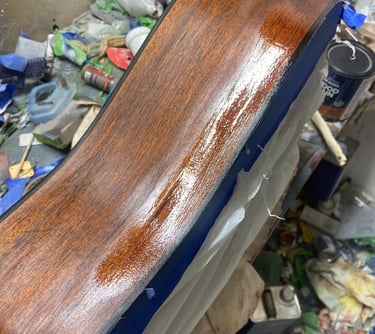
Before fill
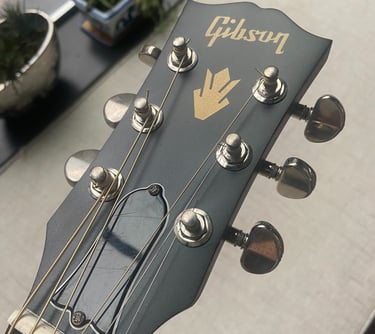
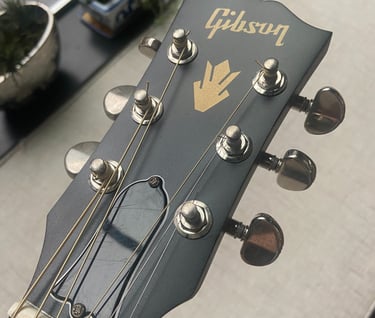
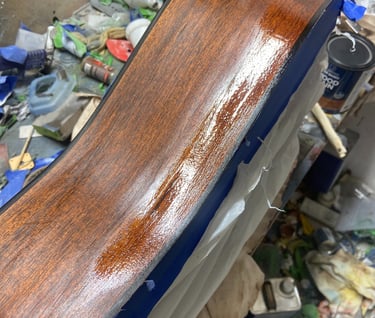
Finished face
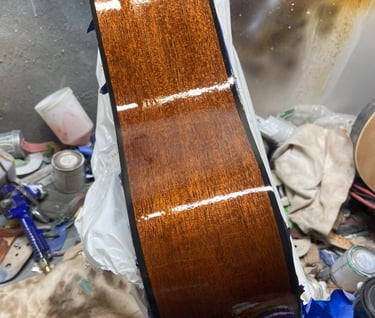
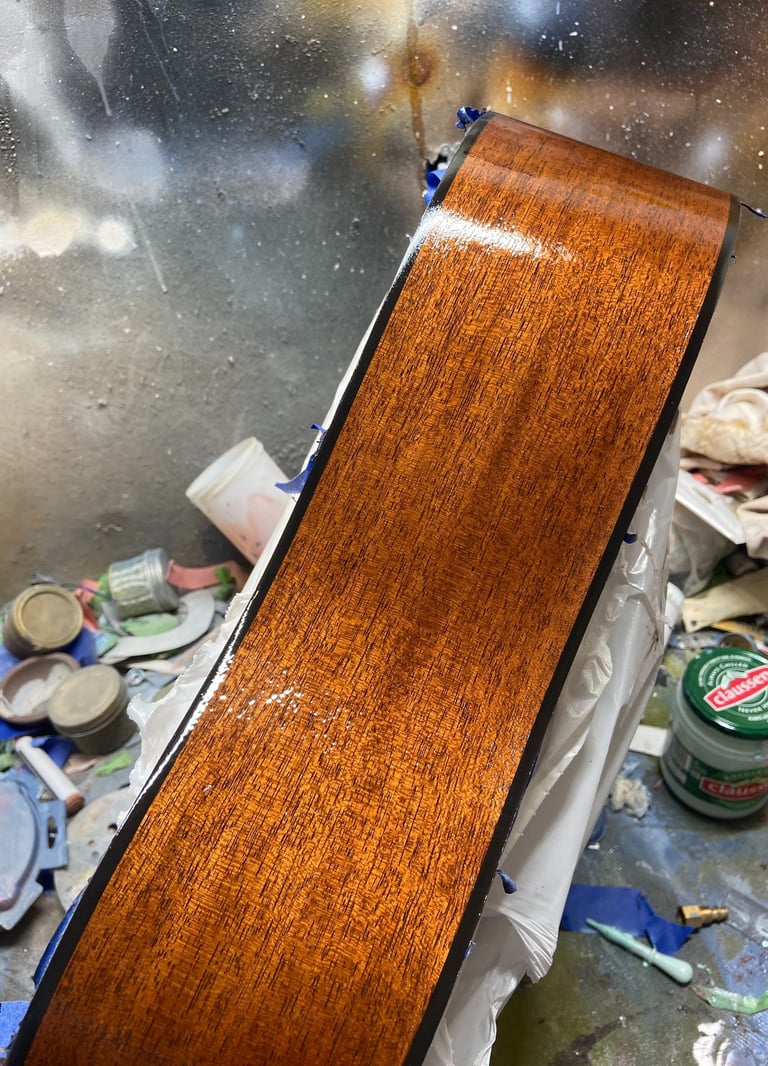
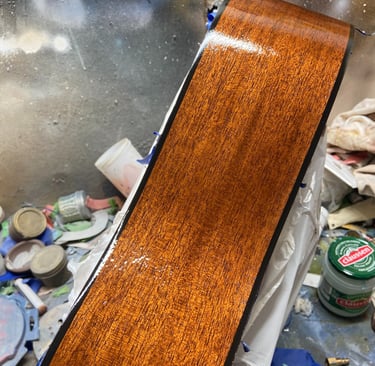
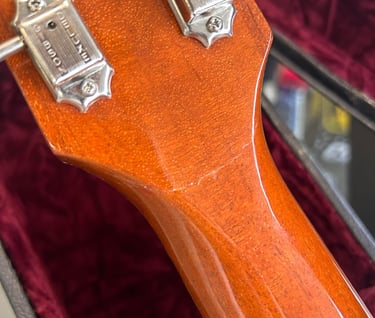
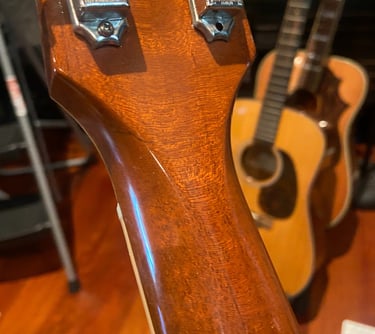
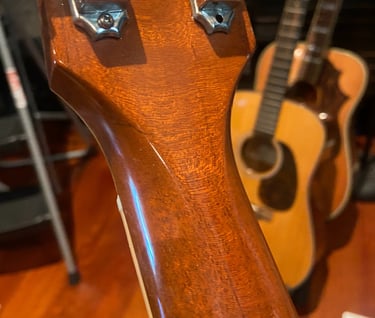
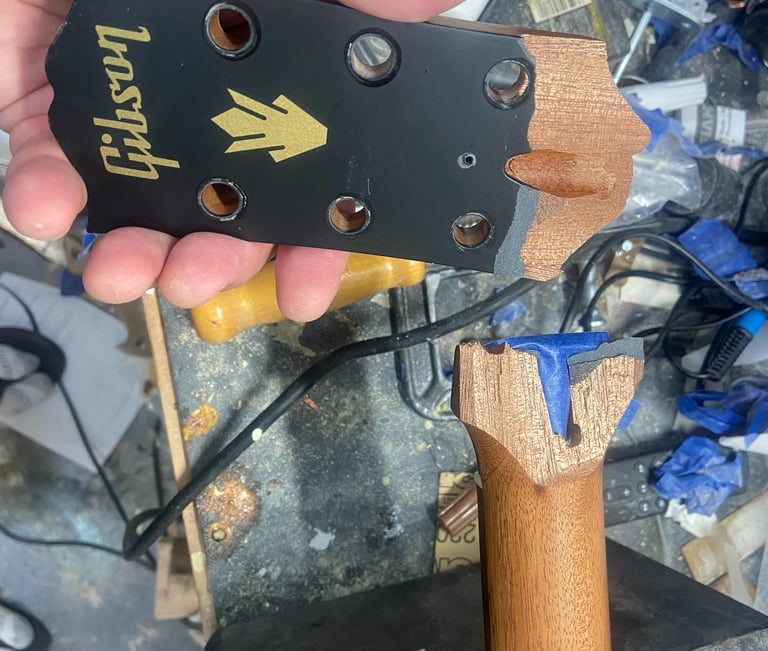
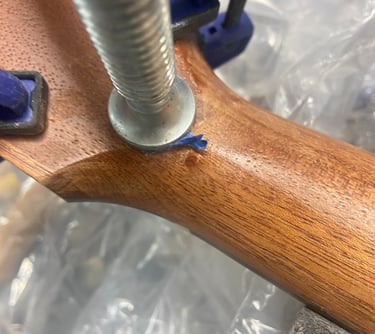
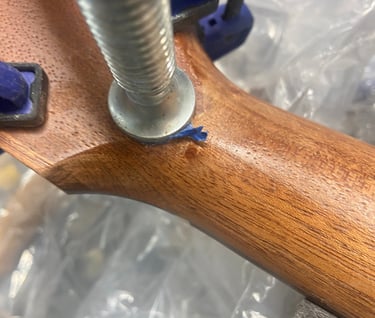
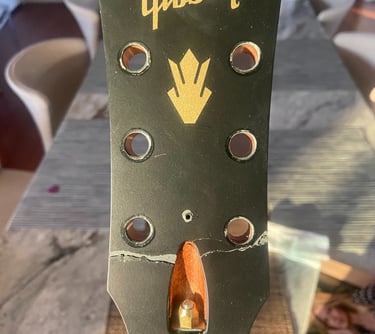
Gibson Hummingbird Special that I bought with a full headstock break. All of the mahogany was there but there was no way to hide the repair due to the light finish. I decided to refinish the neck in a darker color that matches the back. I feel like the natural-colored necks on these look out of place with the dark rosewood bodies anyway. I create the satin sheen with a super fine mist cost of lacquer through my HVLP spray gun.
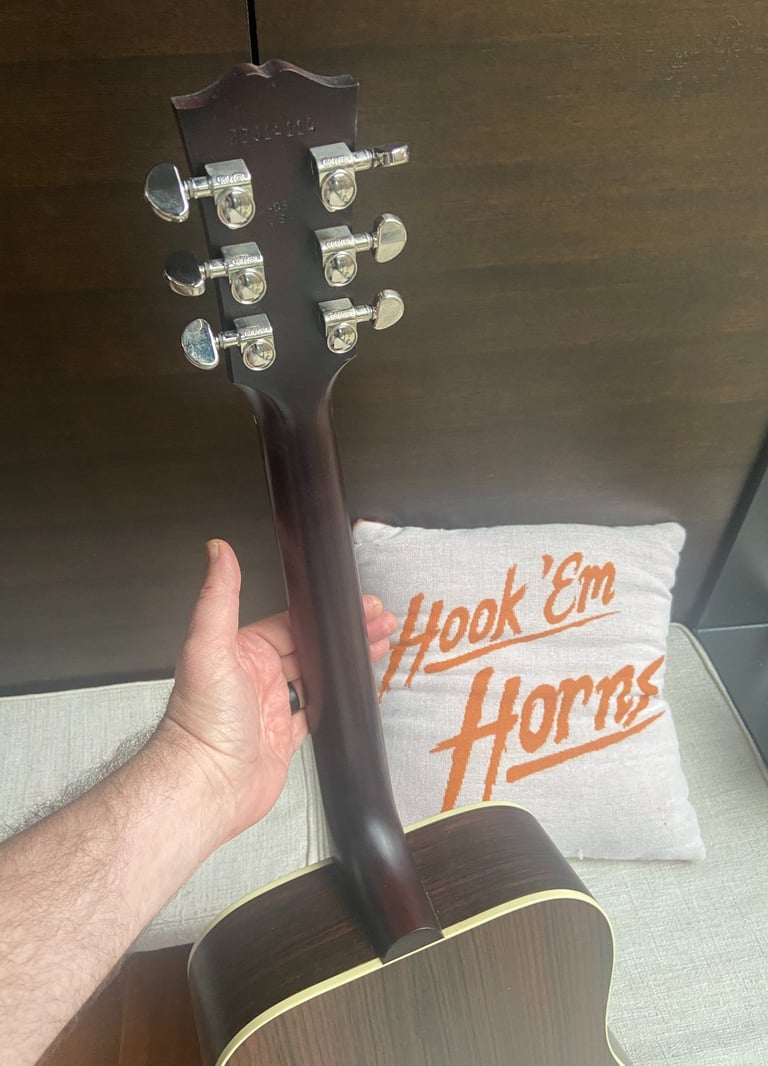

After - doesn't the darker neck look better?
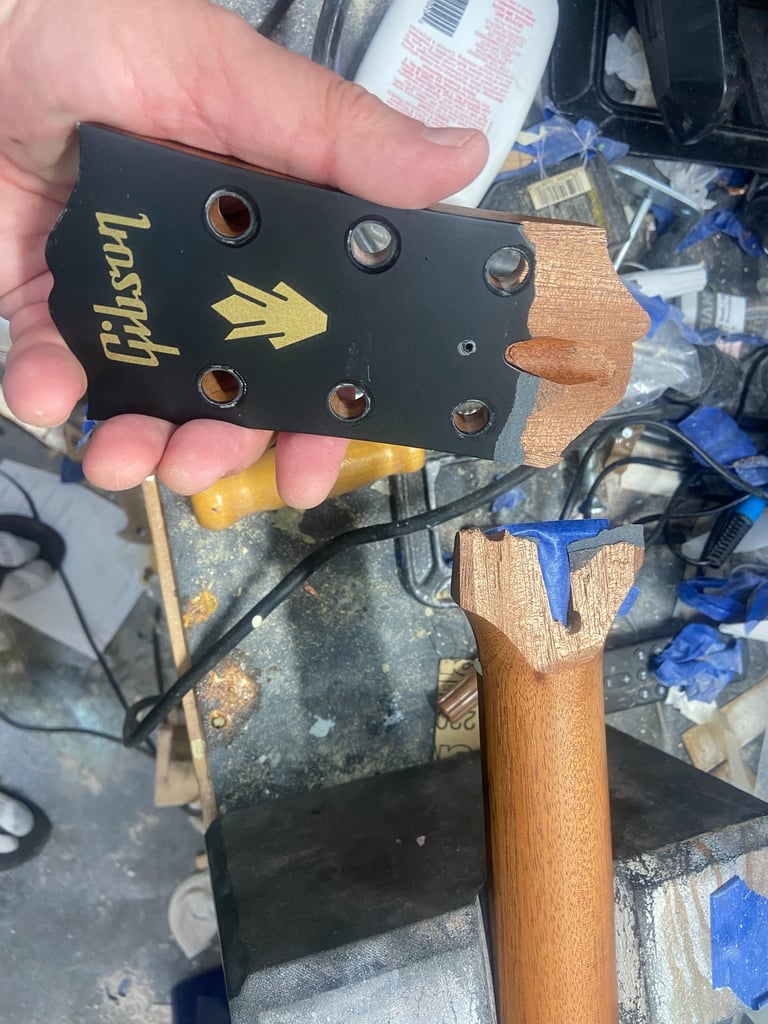
Break before
After gluing up
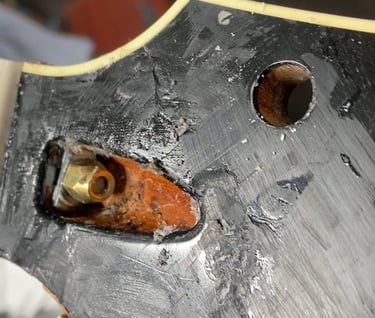
Filling the missing parts
Ready for final touches
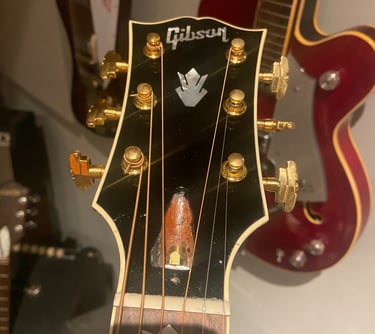
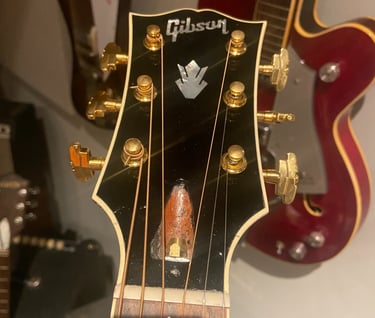
Gibson J-200 Original that had a gruesome headstock break with a chunk of material missing. After gluing it up, I filled the remaining hole with fiberglass-reinforced epoxy. I also refinished the full neck in a mahogany color to hide the repair and better match the body. I ended up keeping the guitar because it sounds great and the repair has been stable for over a year.
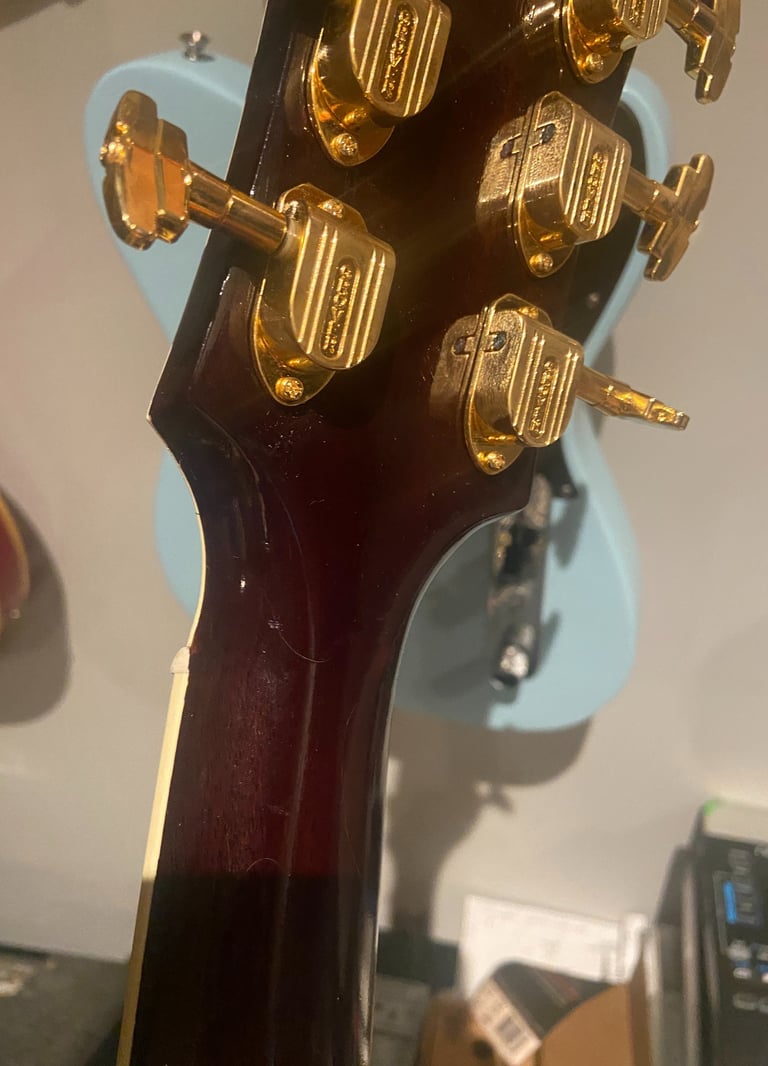
End result
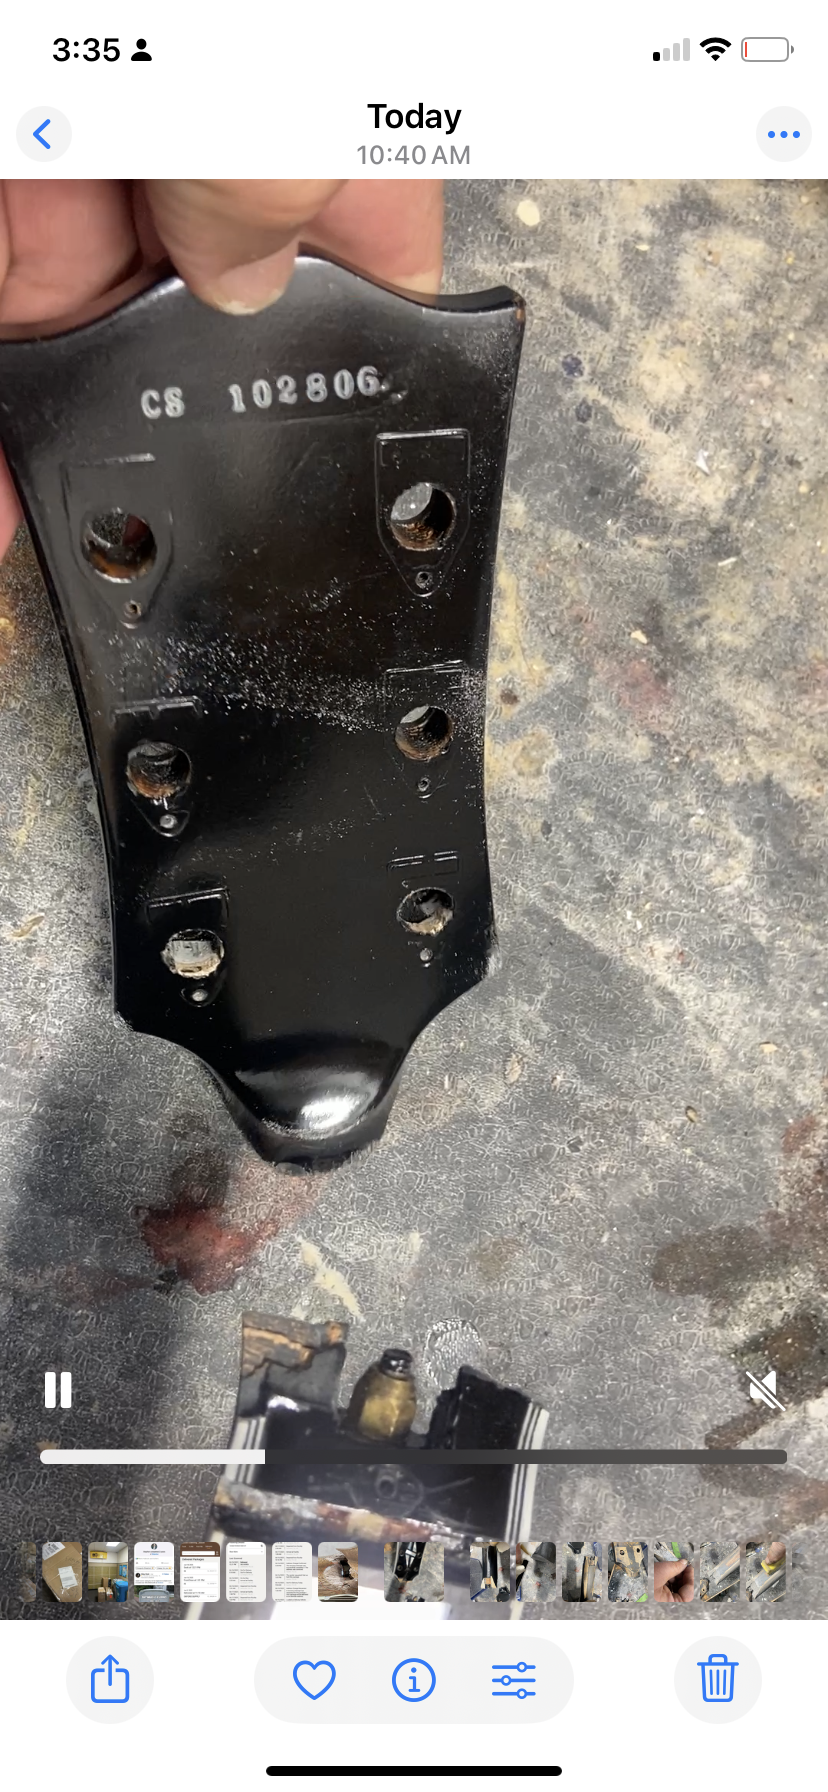
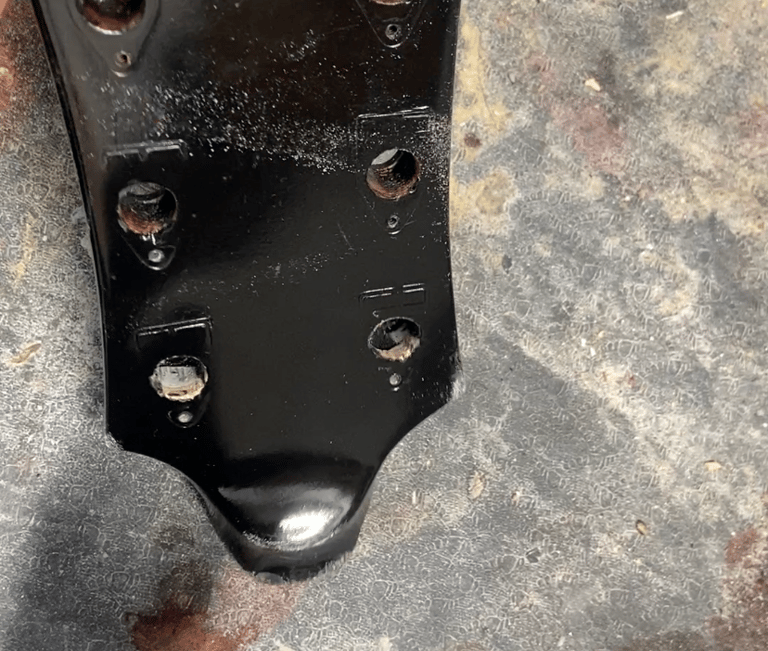
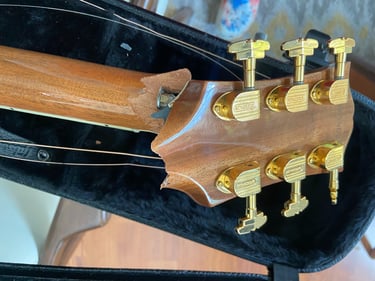
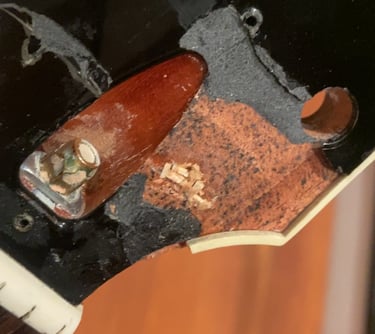
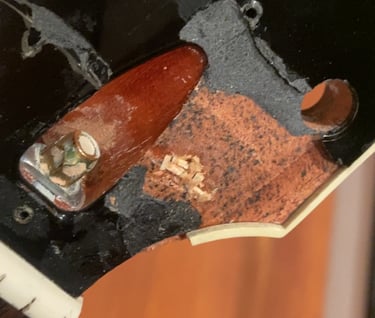
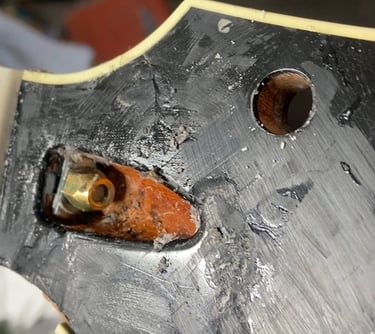
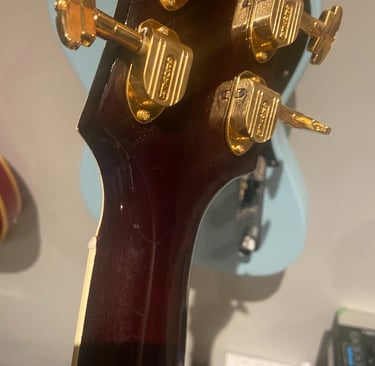
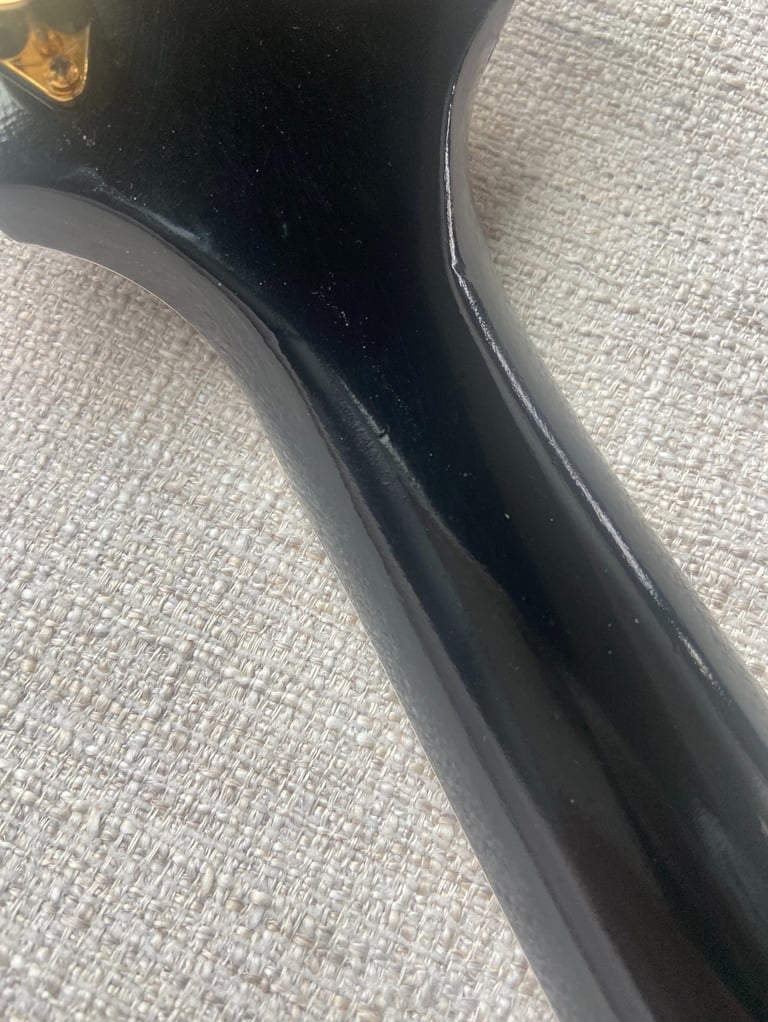
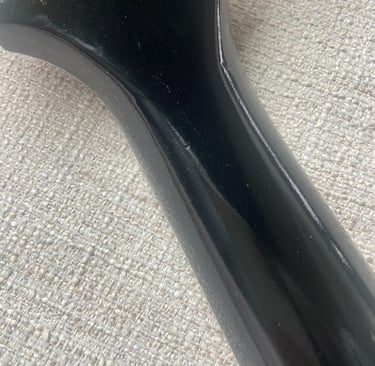
Break before
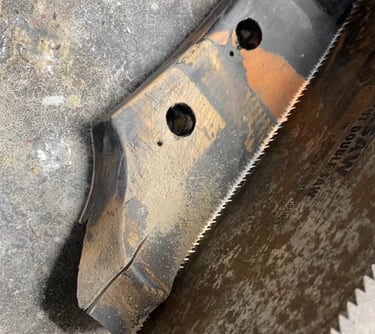
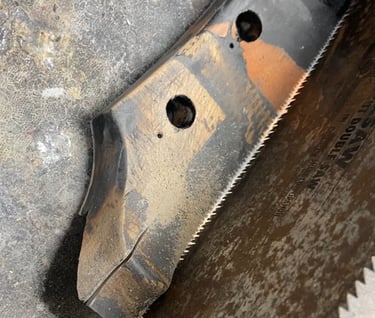
Removing volute
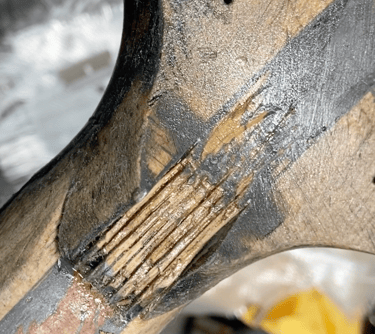
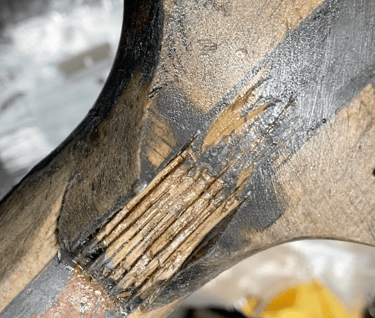
Back together
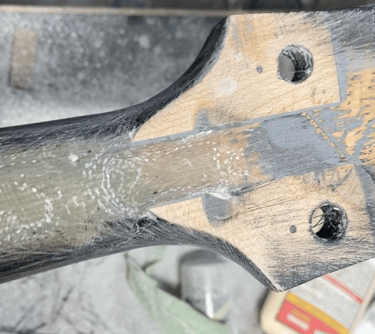
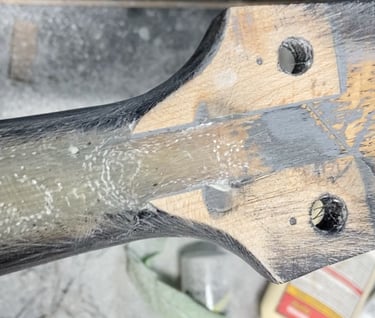
Fiberglass spline
Gibson SG Custom that was previously "repaired" with a wood spline with added volute. I removed the volute, creating a channel for a fiberglass spline. I also wrapped a few layers of fiberglass around the entire joint for extra reinforcement. The last picture is of it prior to final sand and polish. It'll be invisible when done!
Curing (and being played) for a few weeks before final polish
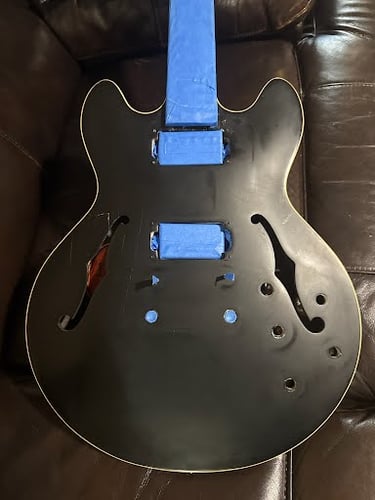
Before
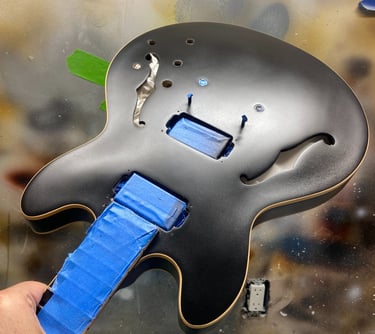
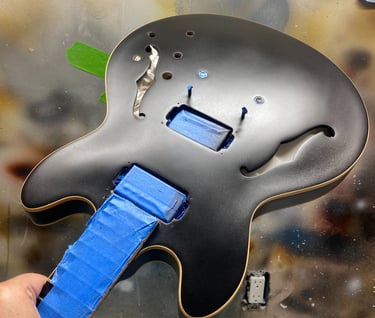
First pass
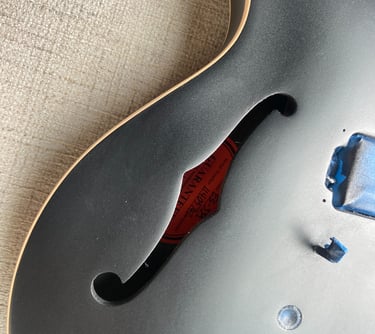
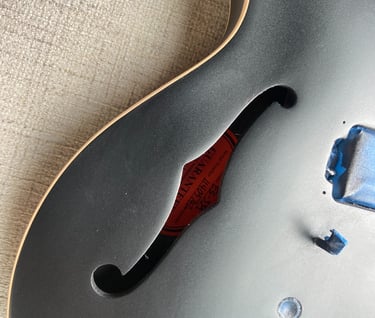
Repaired area
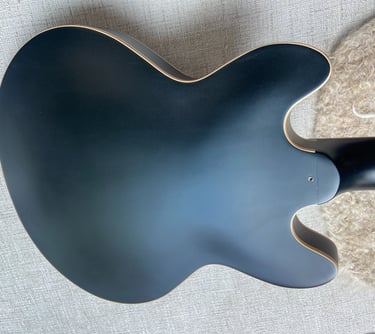
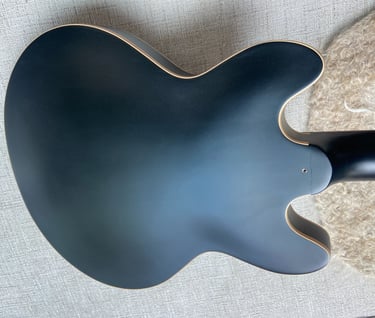
Refinished back
Gibson ES-339 with factory satin finish that's the owners go-to but the cracks in the top near the bass side F-hole were bothering him. I glued and cleated them and refinished pretty much the whole guitar to make it look new. Happy camper!

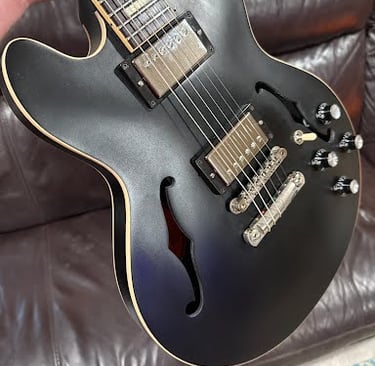
Finished!